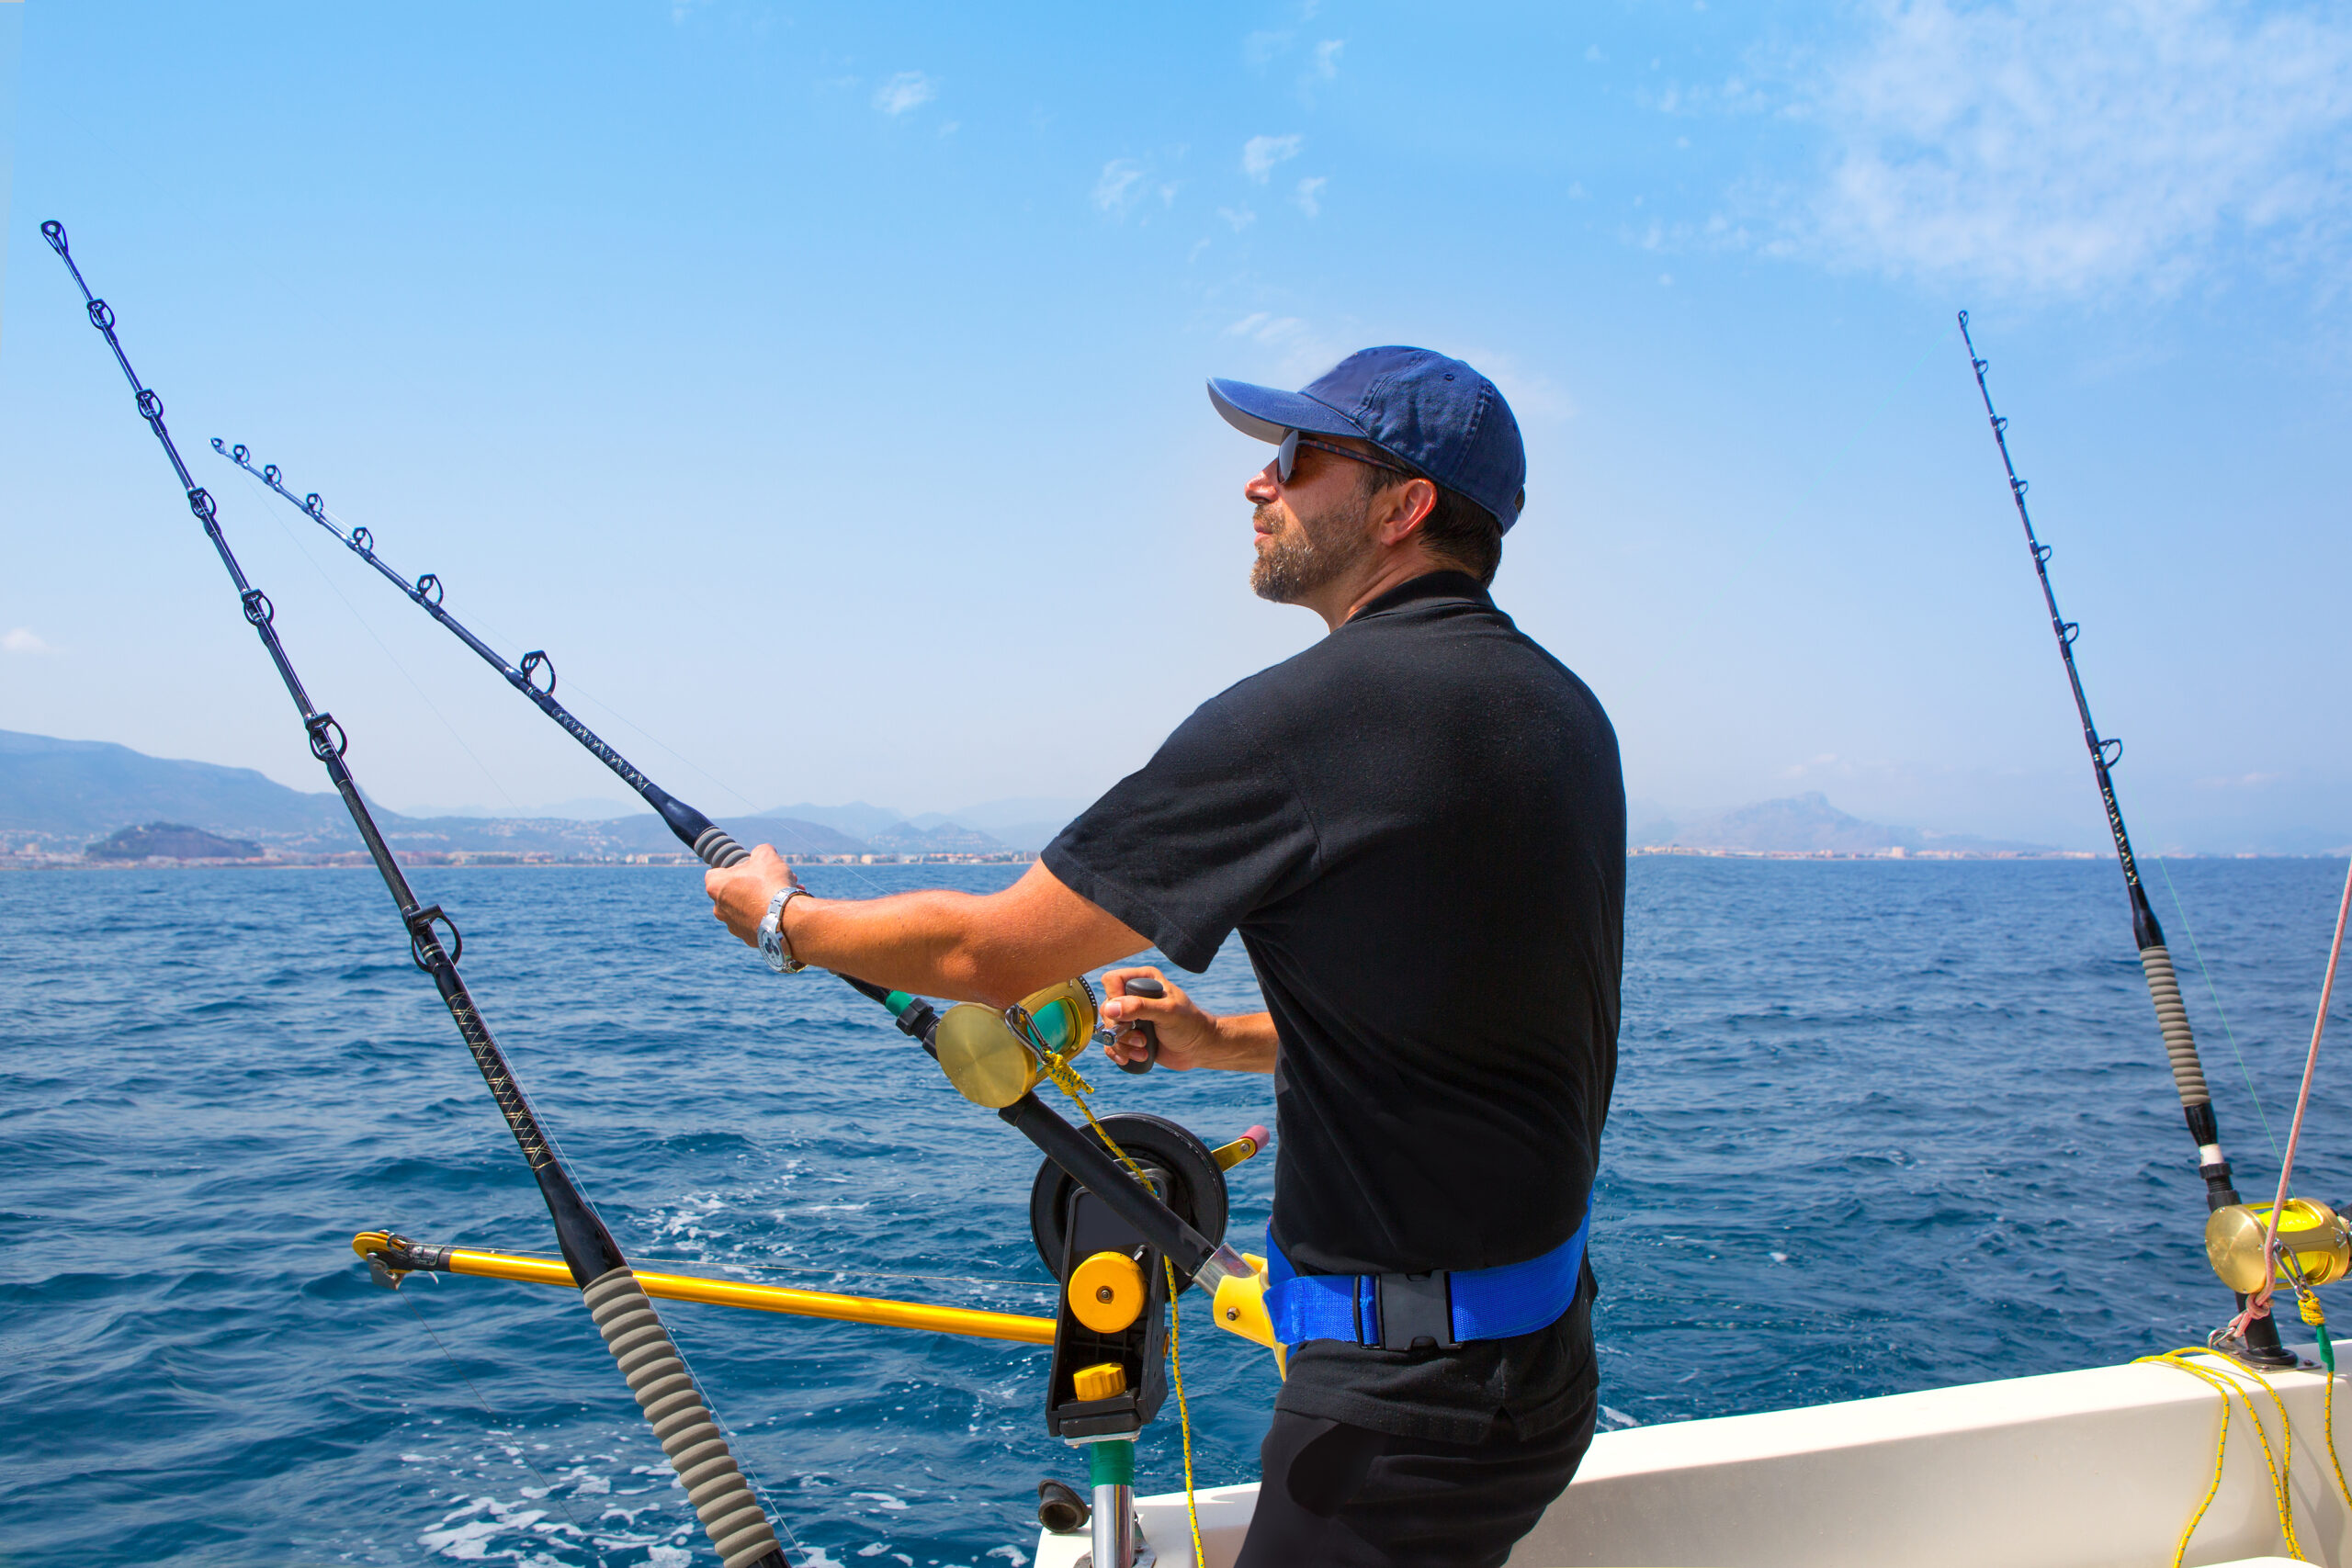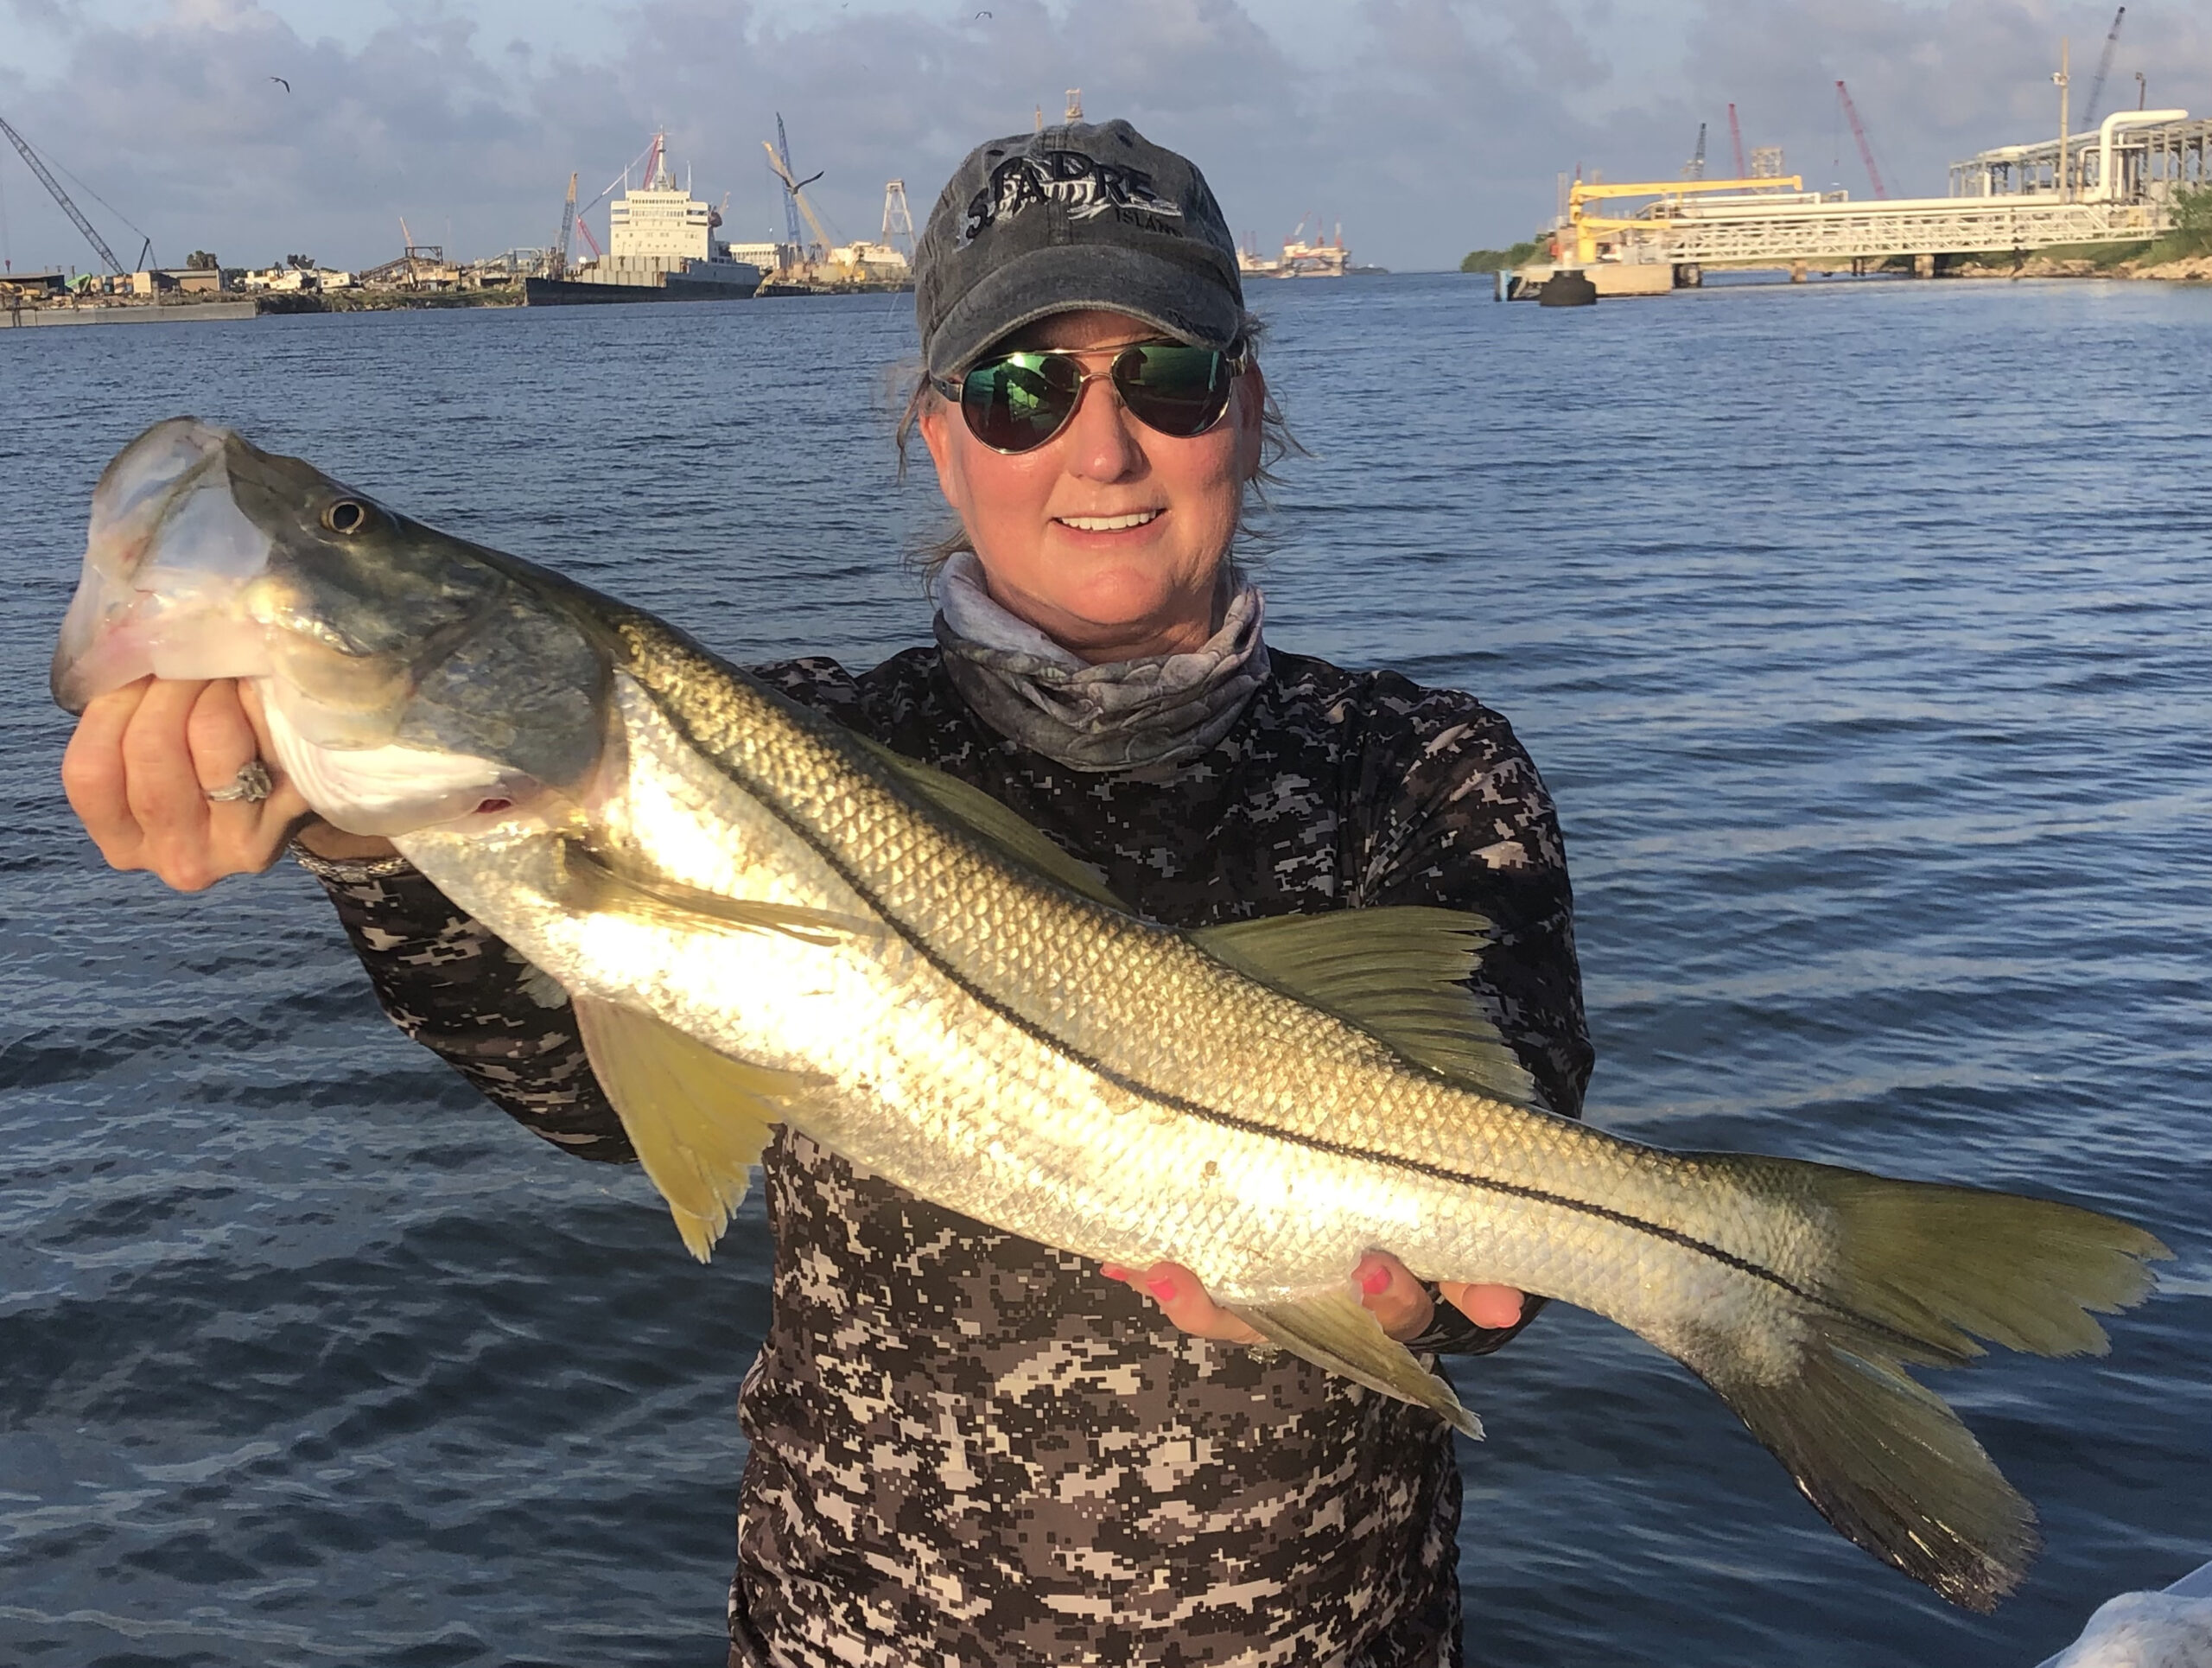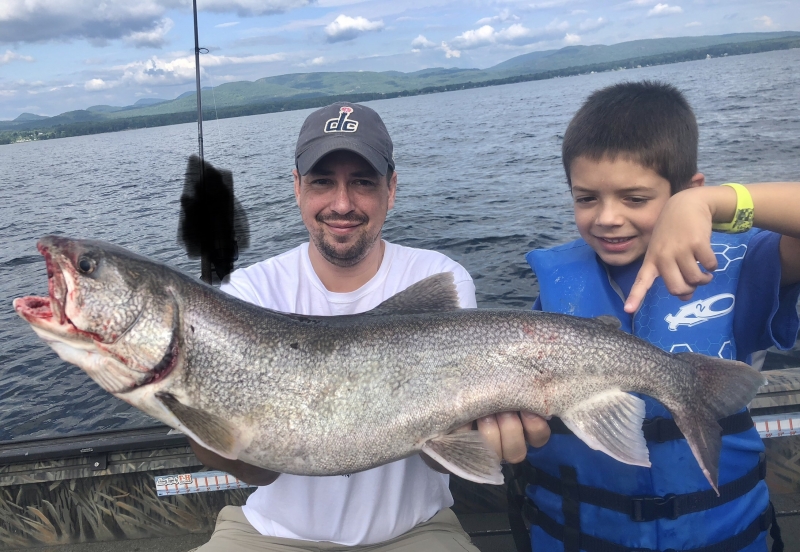


There’s nothing quite like catching your own fish, whether you’re spending a lazy afternoon by the lake or on a dedicated fishing trip. But after the excitement of the catch comes the next important step: cleaning the fish. Properly cleaning and preparing your fish ensures you get the most out of your catch, allowing you to enjoy delicious, fresh fish on your plate.
Whether you’re a seasoned angler or a first-timer, cleaning fish is a skill that can be learned with practice. In this guide, we’ll walk you through the essential steps to clean your catch, from the moment you land your fish until it’s ready for cooking.
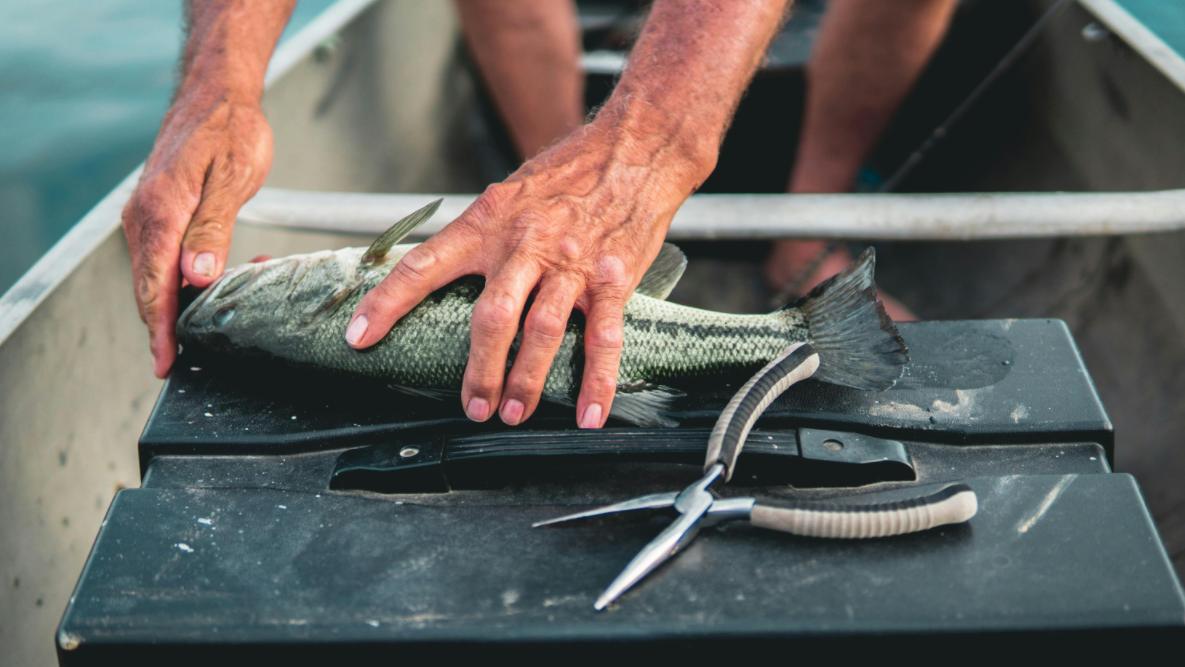
What You’ll Need
Before you start cleaning your fish, make sure you have the proper tools and materials:
- Sharp Knife: A fillet knife or a boning knife is ideal. Make sure the blade is sharp for clean cuts.
- Cutting Board: Use a clean surface that will accommodate the size of your fish.
- Bucket or Container: To dispose of fish guts and waste.
- Towel or Cloth: To wipe off any excess moisture and keep your work area clean.
- Gloves (optional): If you prefer not to get your hands too messy, a pair of gloves can help.
- Ice: If you’re cleaning the fish and not cooking it right away, place it on ice to preserve its freshness.
Step 1: Preparing the Fish
Before you begin cleaning, ensure that your fish is freshly caught. Fish should ideally be cleaned as soon as possible to prevent the meat from spoiling. If you can’t clean your catch right away, keep the fish cool by placing it in a cooler with ice.
If you’re fishing in a remote area, having a small cooler with you can help keep your fish in prime condition until you’re ready to clean it. In any case, it’s important to keep the fish out of direct sunlight, as heat can rapidly degrade the quality of the meat.
Step 2: Scaling the Fish (Optional)
Not all fish need to be scaled, but many do. Scaling removes the fish’s skin and the outer protective coating of its scales. This step is especially necessary if you’re planning to cook the fish whole. You can skip scaling for fish like trout and bass if you plan to fillet them, as the scales won’t interfere too much with the filleting process.
To scale a fish, hold it firmly by the head with one hand and use the edge of a knife or a specialized fish scaler to scrape along the body in the opposite direction of the scales. Work from the tail toward the head. Be sure to scale both sides of the fish thoroughly.
Step 3: Gutting the Fish
The next step is to gut the fish. Gutting removes the internal organs and ensures the fish is properly prepared for cooking. The process is simple but requires care to avoid puncturing the intestines, which can lead to unpleasant odors and tastes.
- Make the Incision: Start by placing the fish on its side. Use your sharp knife to make a shallow cut just behind the gills, running down the belly of the fish. This cut should be deep enough to reach the organs but shallow enough not to puncture the intestines.
- Remove the Organs: Gently pull out the internal organs, including the intestines, heart, and lungs. Be careful not to tear any of the organs as you remove them. You can dispose of the organs in a bucket, or some anglers like to use them for bait.
- Clean the Cavity: Once the organs are removed, rinse the fish cavity with clean water to remove any residual blood, slime, or debris. It’s a good idea to scrub the cavity gently with your fingers to ensure it’s thoroughly cleaned.
Step 4: Removing the Head (Optional)
If you’re filleting your fish, you can skip this step. However, if you plan to cook the fish whole, you may want to remove the head to make it easier to handle.
To remove the head, use your sharp knife to make a cut just behind the gills. Cut through the flesh and bones until the head detaches. Make sure the cut is clean to avoid leaving any unnecessary bones.
Step 5: Filleting the Fish
Filleting is an efficient way to remove the meat from the bones, and it’s the preferred method for many anglers when preparing their fish for cooking. This step requires a fillet knife, which is designed to cut through the delicate flesh without damaging the meat.
- Position the Fish: Lay the fish on its side on a flat cutting board. Make a shallow cut just behind the gills to separate the fillet from the backbone. Follow the natural curve of the fish’s ribs as you slice down along the spine toward the tail.
- Separate the Fillet: Once you’ve made the initial cut, use the knife to separate the fillet from the bones. Work carefully, cutting along the ribs and around the bones to remove as much meat as possible.
- Repeat on the Other Side: Once the first fillet is removed, flip the fish over and repeat the process on the other side.
- Remove the Skin (Optional): If you prefer skinless fillets, you can easily remove the skin by running your knife between the skin and the flesh. Start at the tail and slowly work your way toward the head, keeping the knife angled slightly downward to ensure a clean separation.
Step 6: Removing the Pin Bones (Optional)
Most fish, especially those with a delicate structure like trout, have small pin bones that remain in the fillet. These can be easily removed with a pair of needle-nose pliers or fish bone tweezers. Gently pull the bones out, starting from the middle of the fillet and working your way toward the edges.
Step 7: Storing the Fish
Once your fish is cleaned and filleted, it’s important to store it properly if you’re not cooking it immediately.
- On Ice: The best way to preserve fresh fish is to store it on ice. Place the fillets in a shallow pan or airtight container, then cover with crushed ice. The fish should be kept as cold as possible to maintain its freshness. Change the ice as it melts.
- Freezing: If you won’t be eating the fish within a day or two, freezing is a great option. Wrap the fillets tightly in plastic wrap, then place them in a freezer bag or vacuum-seal them. Label the package with the date so you can keep track of how long the fish has been stored.
Step 8: Cooking Your Fish
Now that your fish is properly cleaned and stored, it’s time to cook! Whether you prefer grilling, frying, or baking, there are countless ways to prepare your freshly caught fish. For a simple yet flavorful meal, try pan-searing fillets in butter with a squeeze of lemon, or breading and frying them for a crispy, golden treat.
Conclusion
Cleaning fish might seem like a daunting task at first, but with the right tools, a bit of practice, and some patience, it becomes a rewarding part of the fishing experience. The satisfaction of turning your catch into a fresh, delicious meal is unmatched. So, next time you hook a big one, remember that the journey doesn’t end when you reel it in—proper cleaning and preparation are key to enjoying a top-notch fish dinner. Happy fishing, and happy cooking!